This guide will walk you through deploying a simple “Hello World” Next.JS application onto the Akash Network via Akash Console. This guide is beginner-friendly and requires no previous knowledge of navigating Console or Akash Network in general.
Before Getting Started
Console is compatible with two wallets as of now, Keplr and Leap wallet. The Keplr or Leap browser extensions must be installed and with sufficient funds (0.5 AKT minimum for a single deployment plus a small amount for transaction fees).
Follow Keplr Wallet or Leap Cosmos Wallet guides to create your first wallet if necessary.
Akash Console Access
The Akash Console web app is available via the following URL:
STEP 1 - Connect your Keplr or Leap wallet
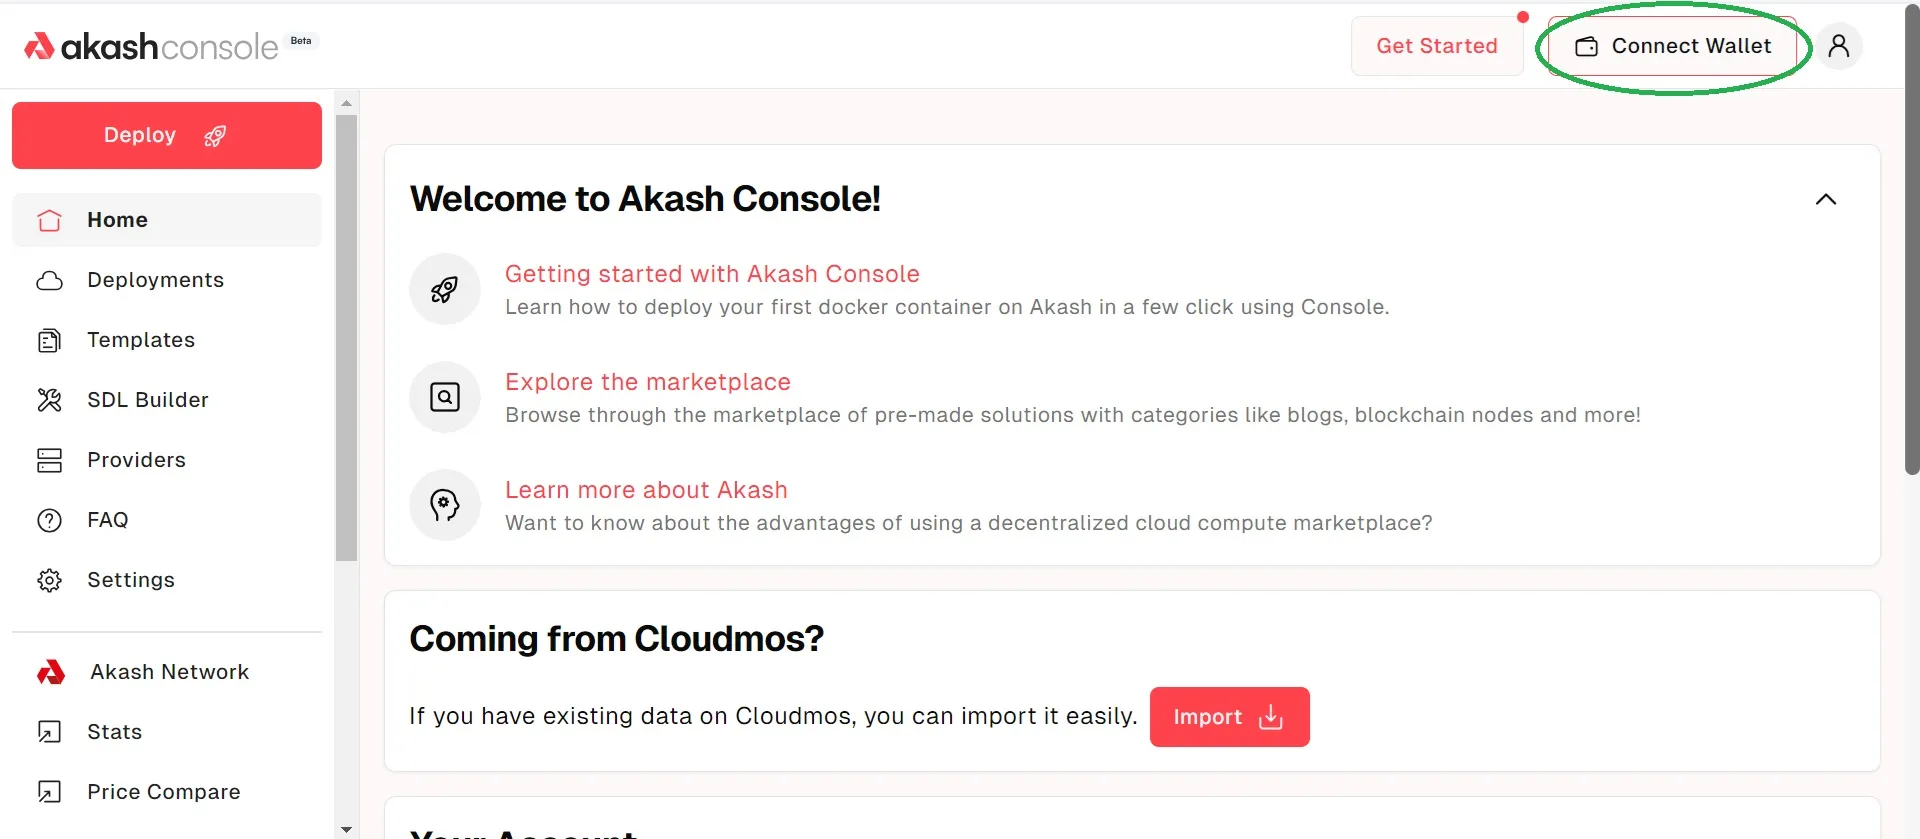
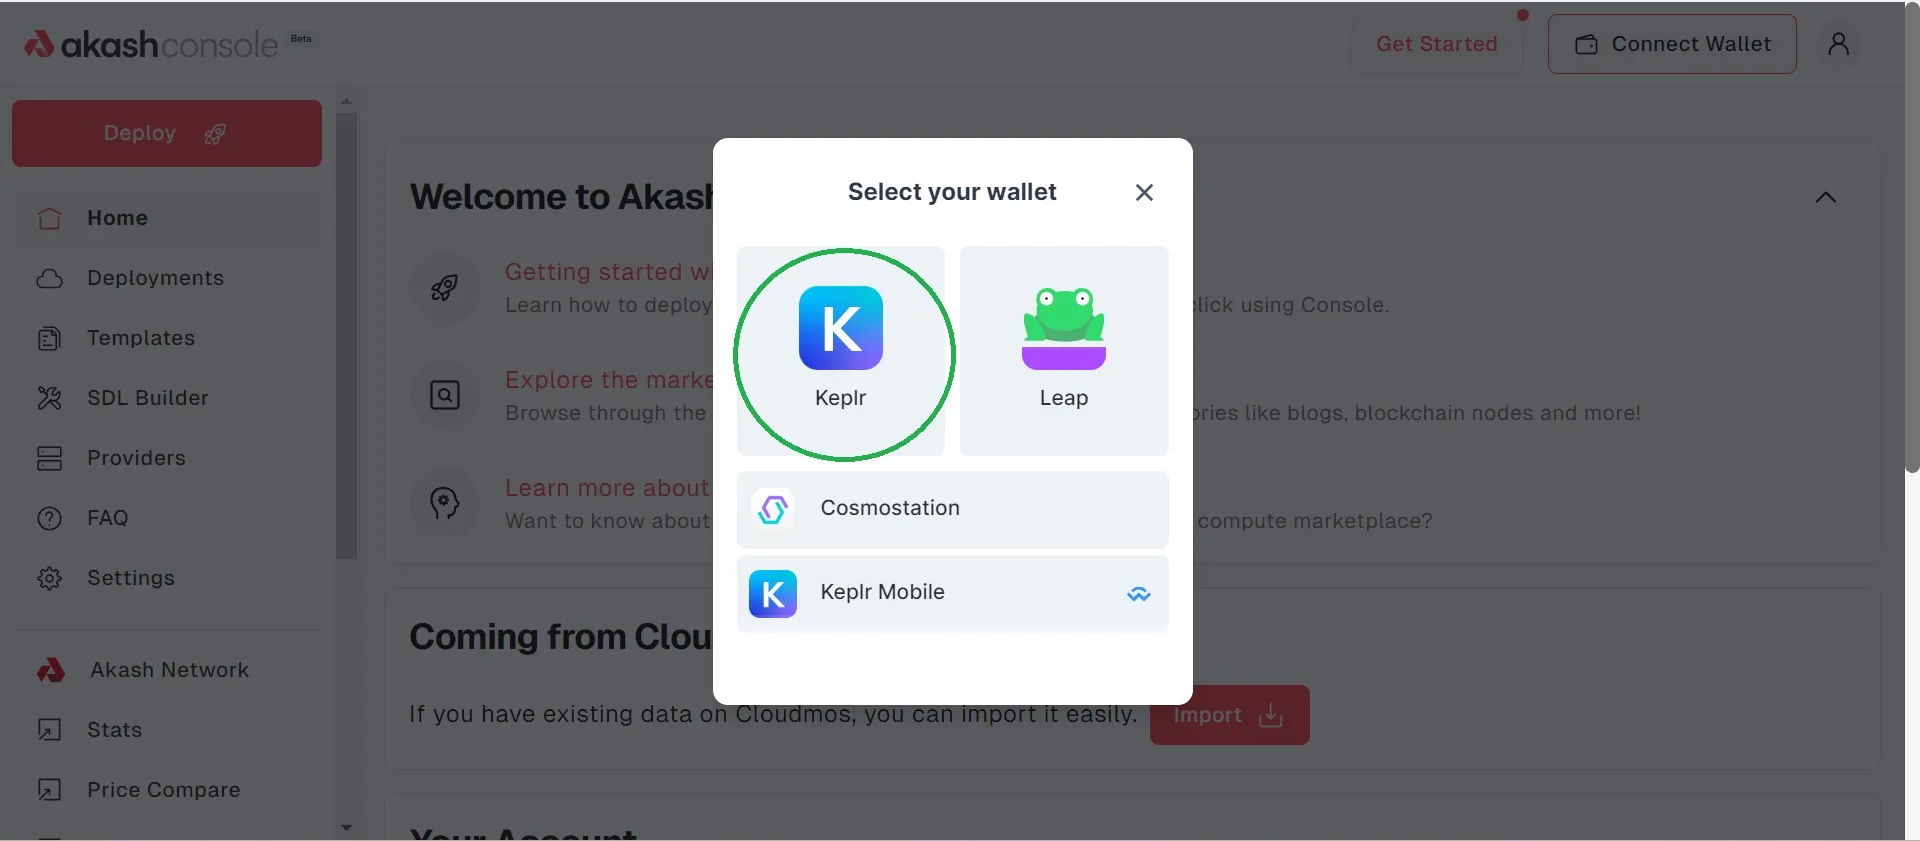
After clicking connect wallet, you will see an option to choose either Keplr or Leap. Choose your desired option:
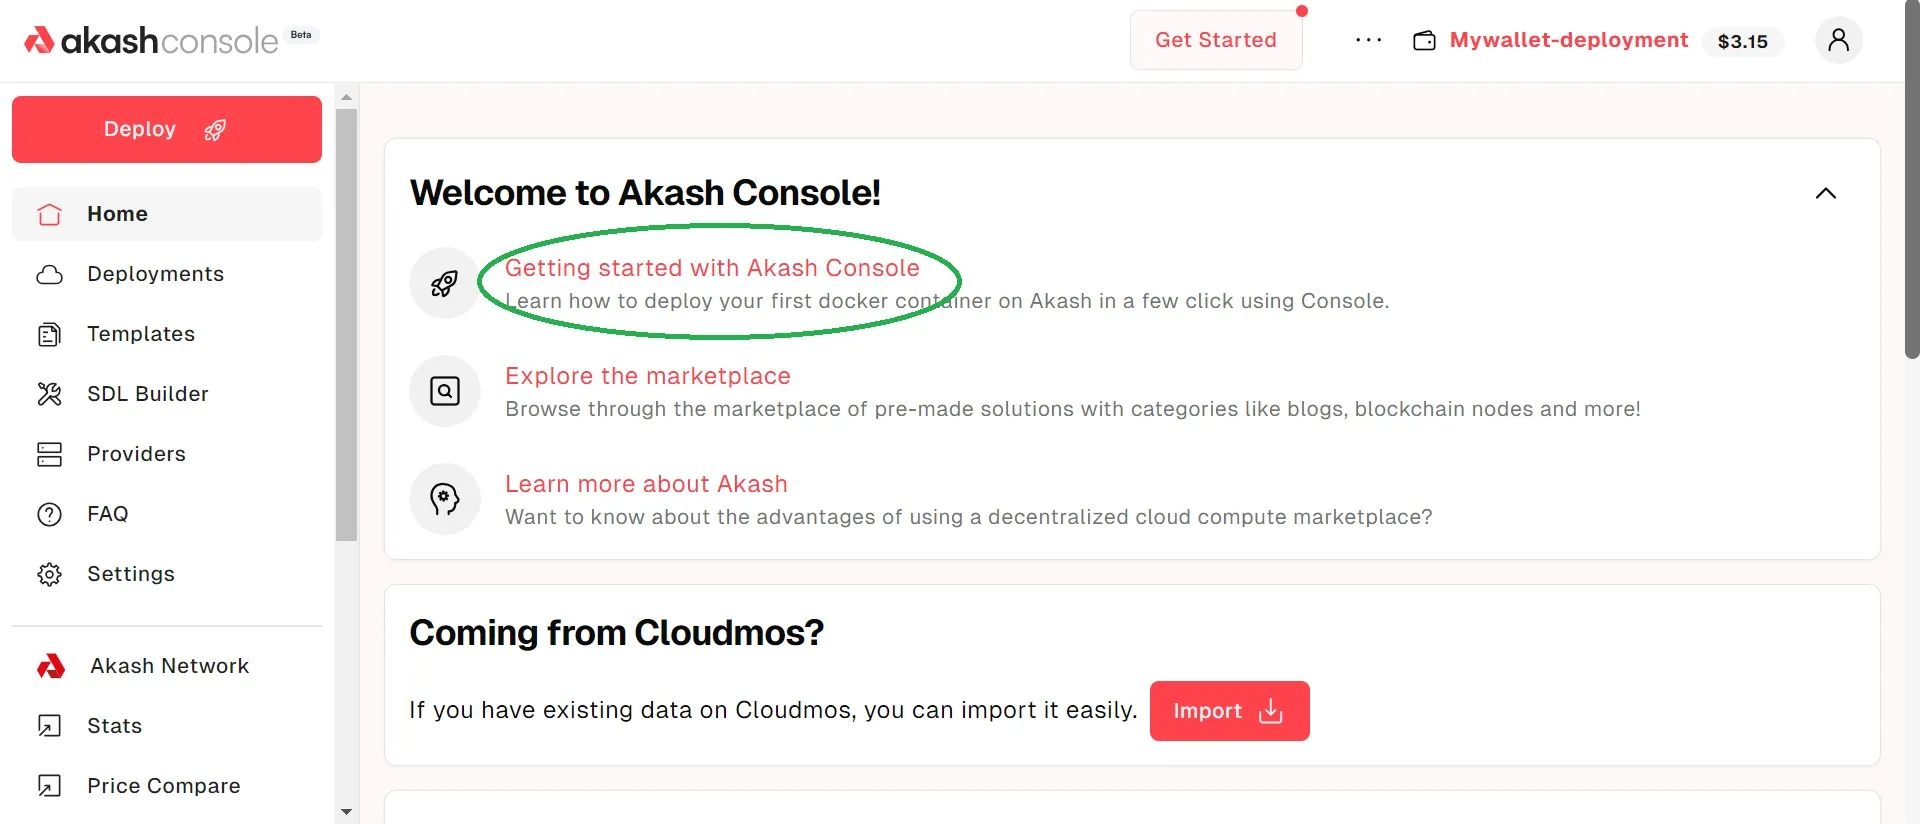
STEP 2 - Click the “Getting started with Akash Console” option
Now click the Deploy button:
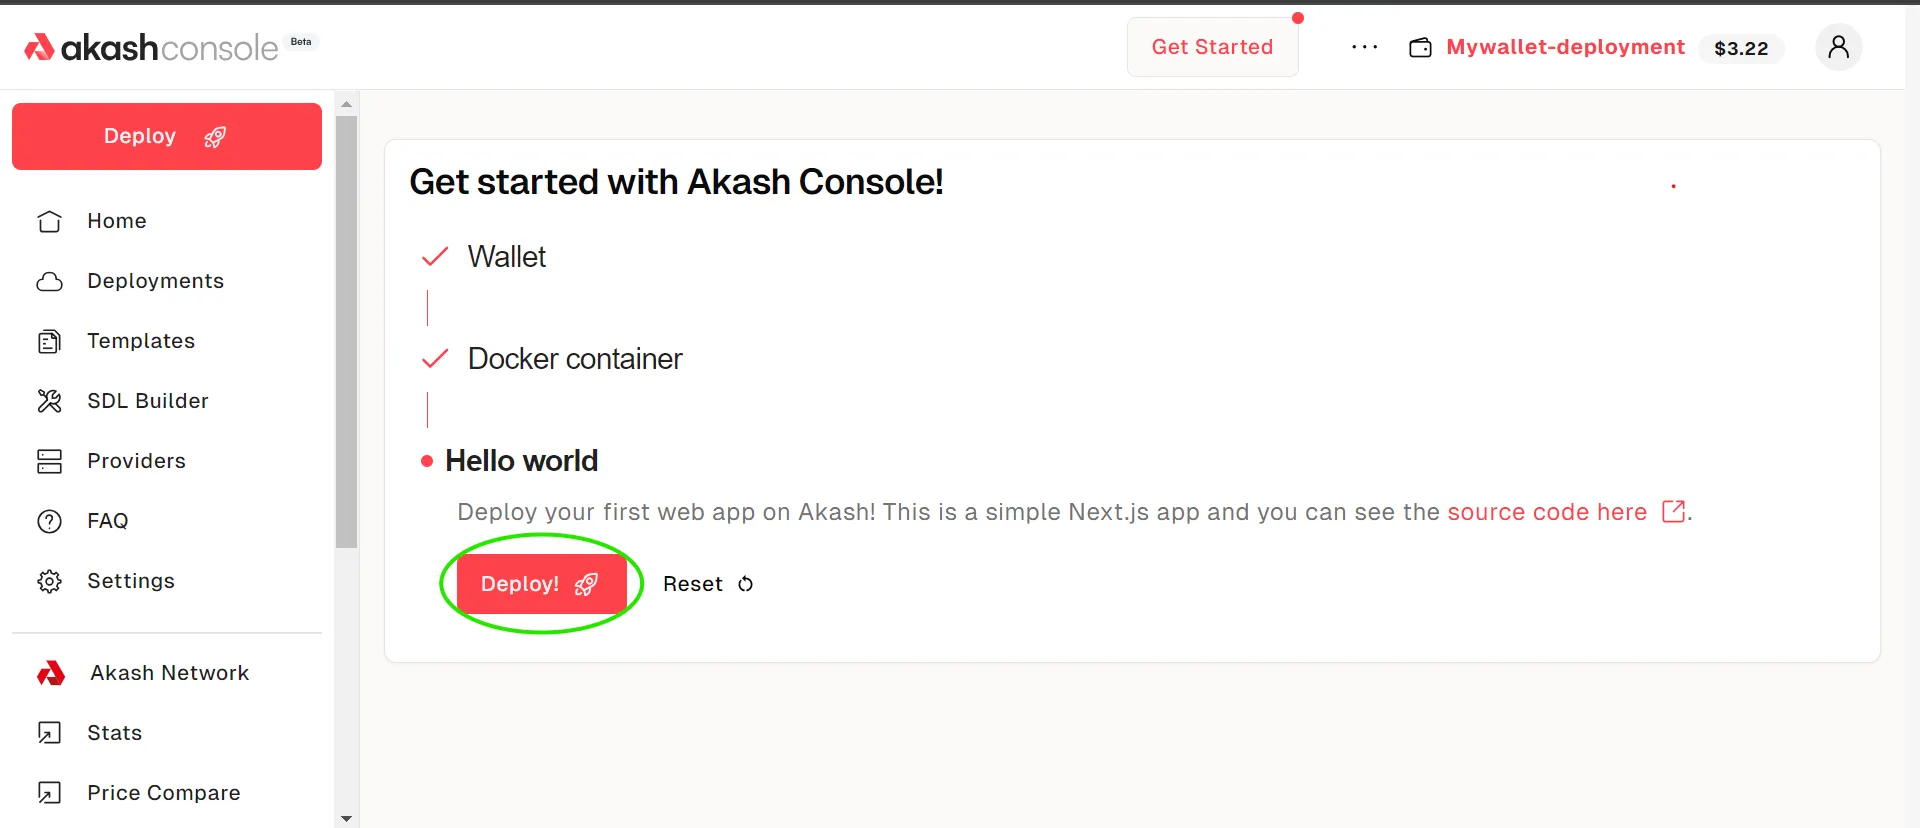
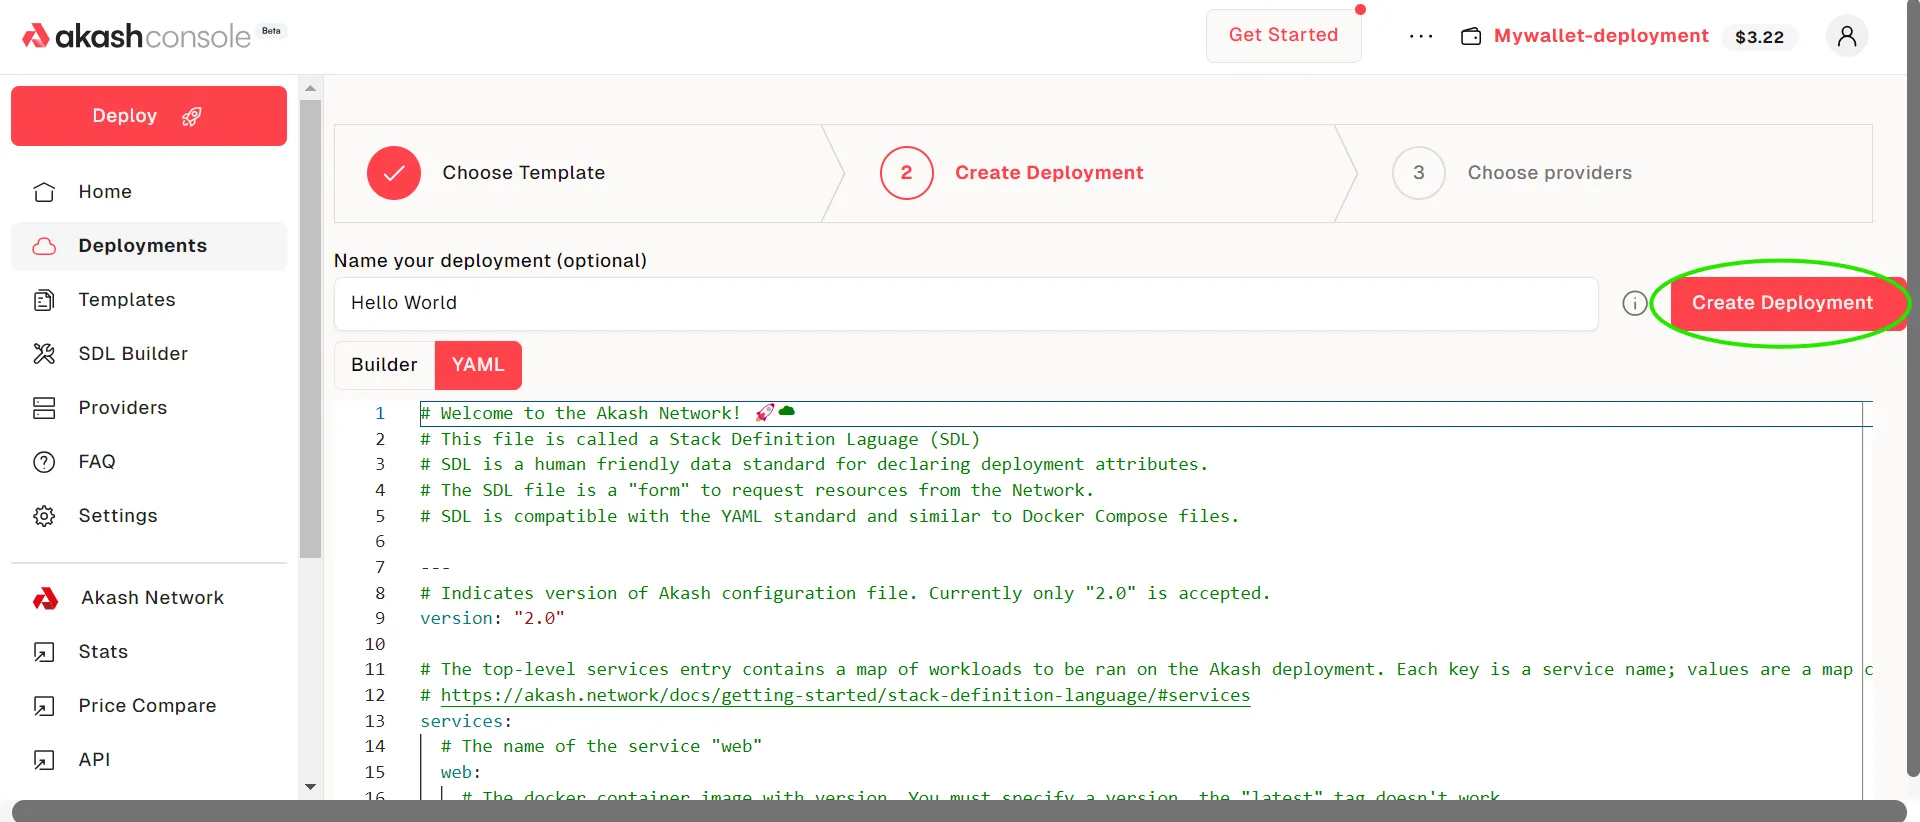
Now, an SDL file will be loaded for your deployment, which will have the docker image and all the needed resources specified. Click the create deployment option:
STEP 3 - Proceed to pay the deployment deposit
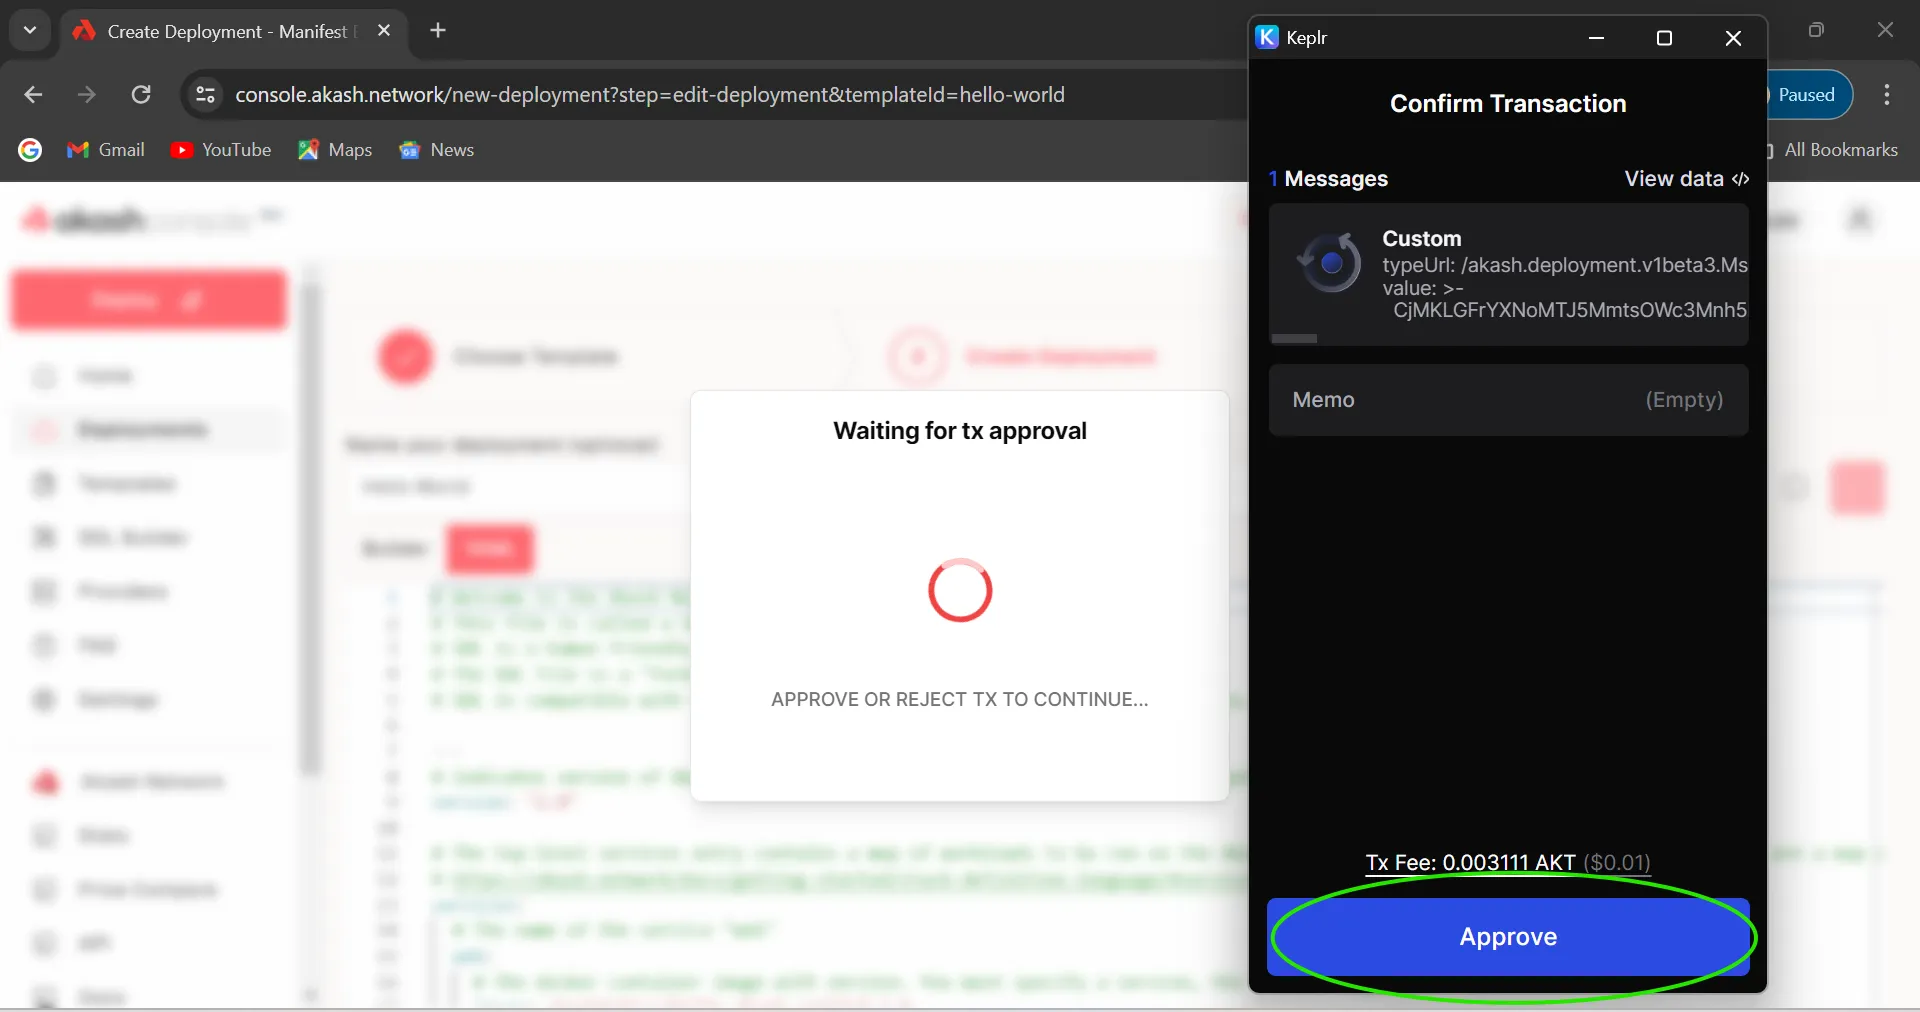
Click the continue button and approve the transaction:

Now approve the transaction:
STEP 4 - Select the best bid
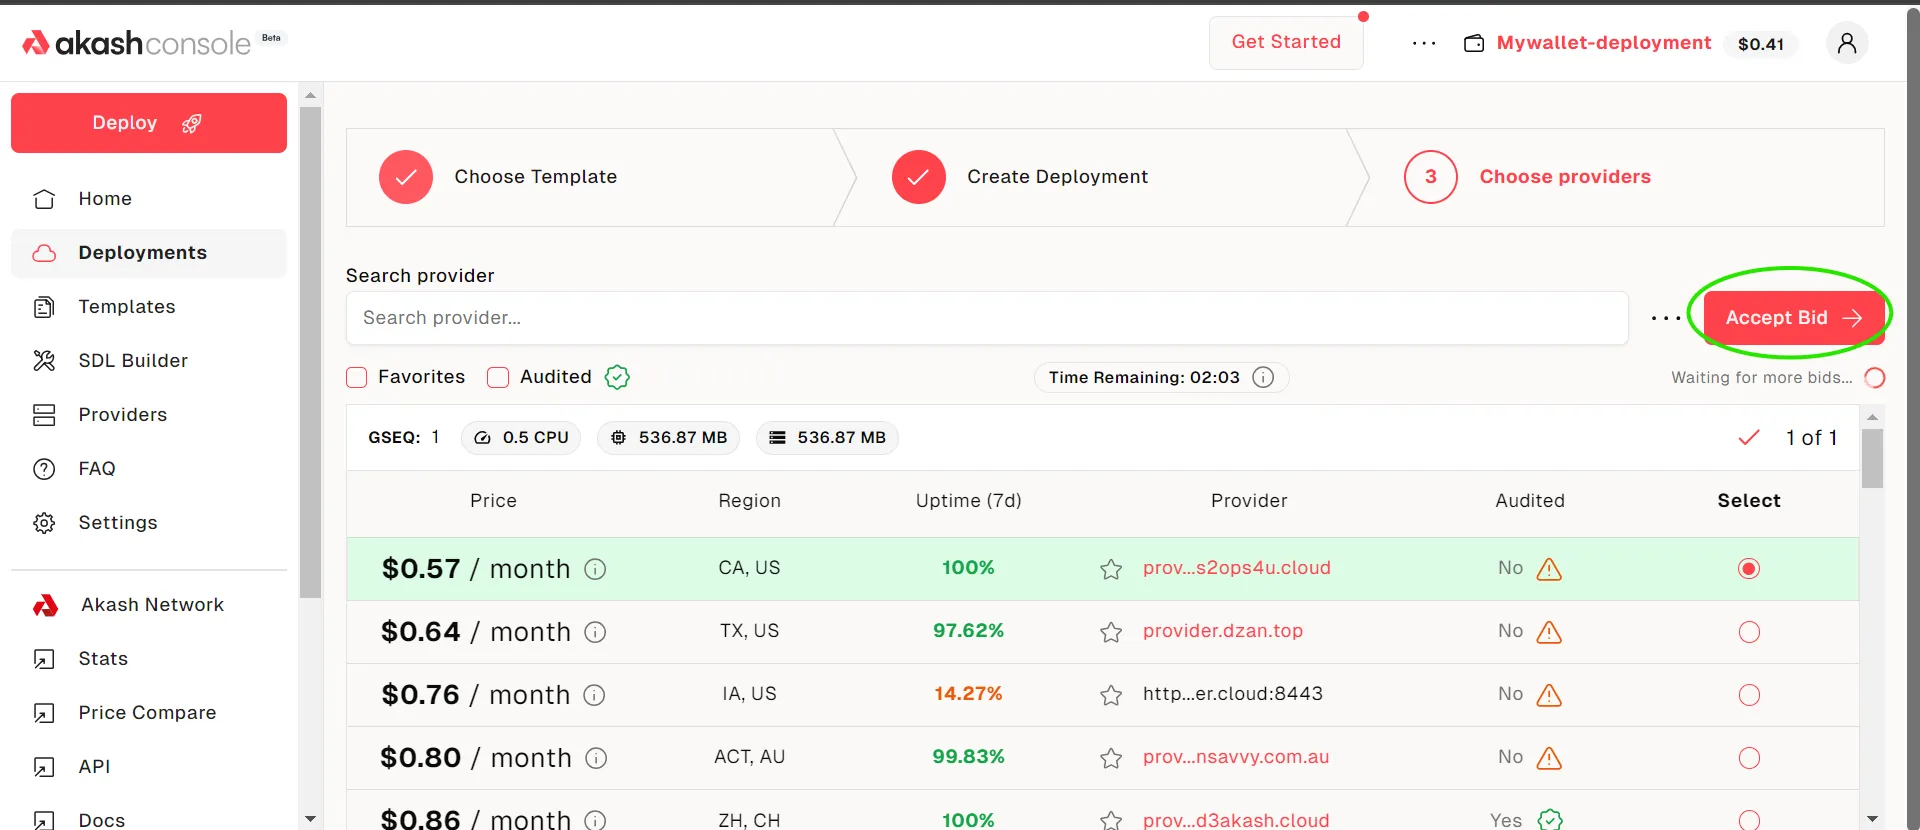
Now you will see a list of providers with prices. Select whichever you want, preferably the lowest one, and click the Accept Bid button:
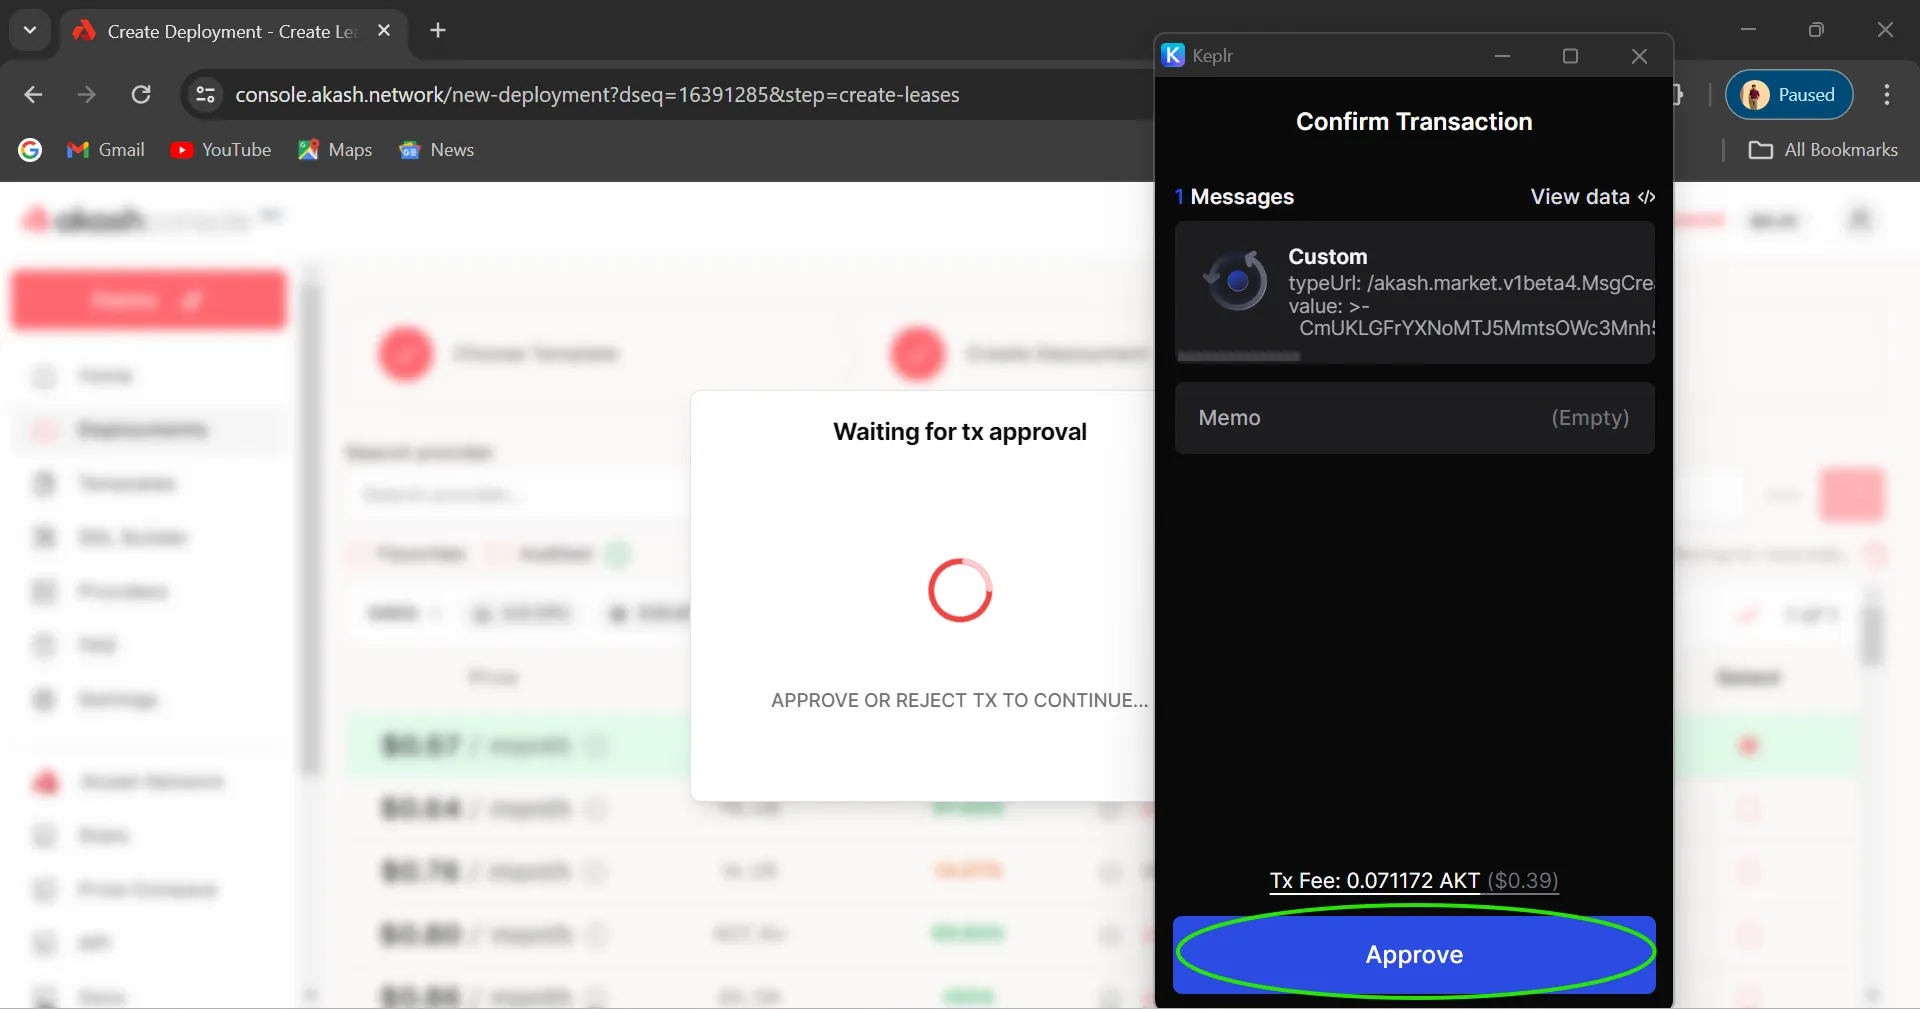
Now approve the transaction fee once again:
STEP 5 - Confirm the deployment
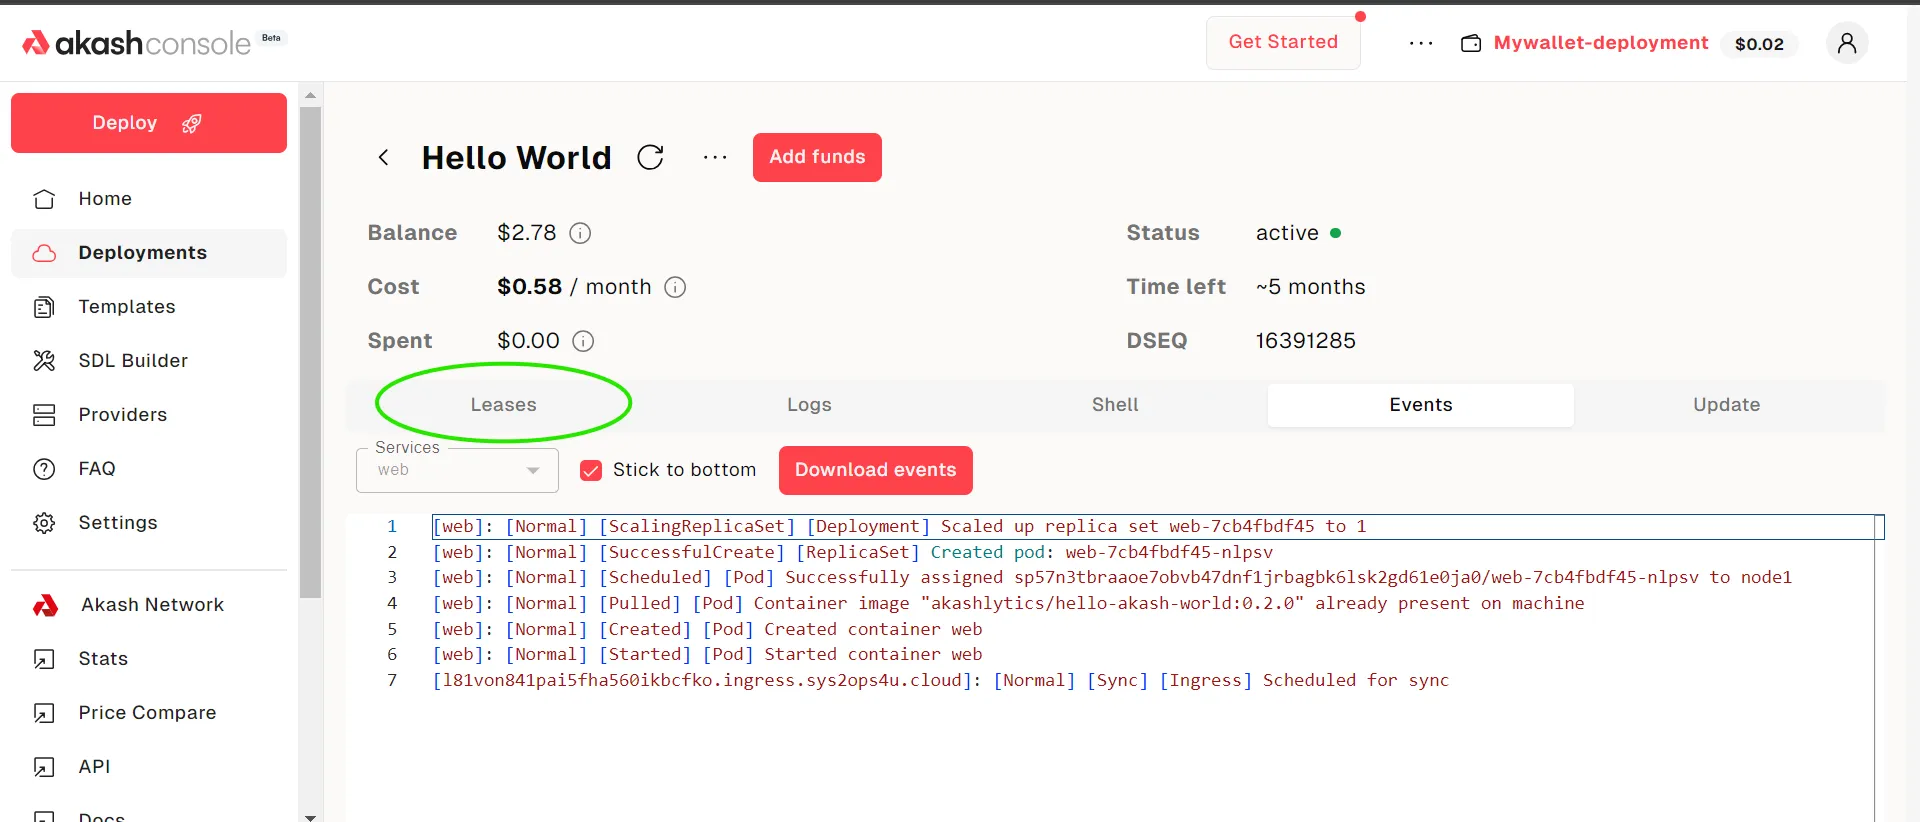
Now the only thing left to do is to confirm that the deployment was successful. Click the Leases section:
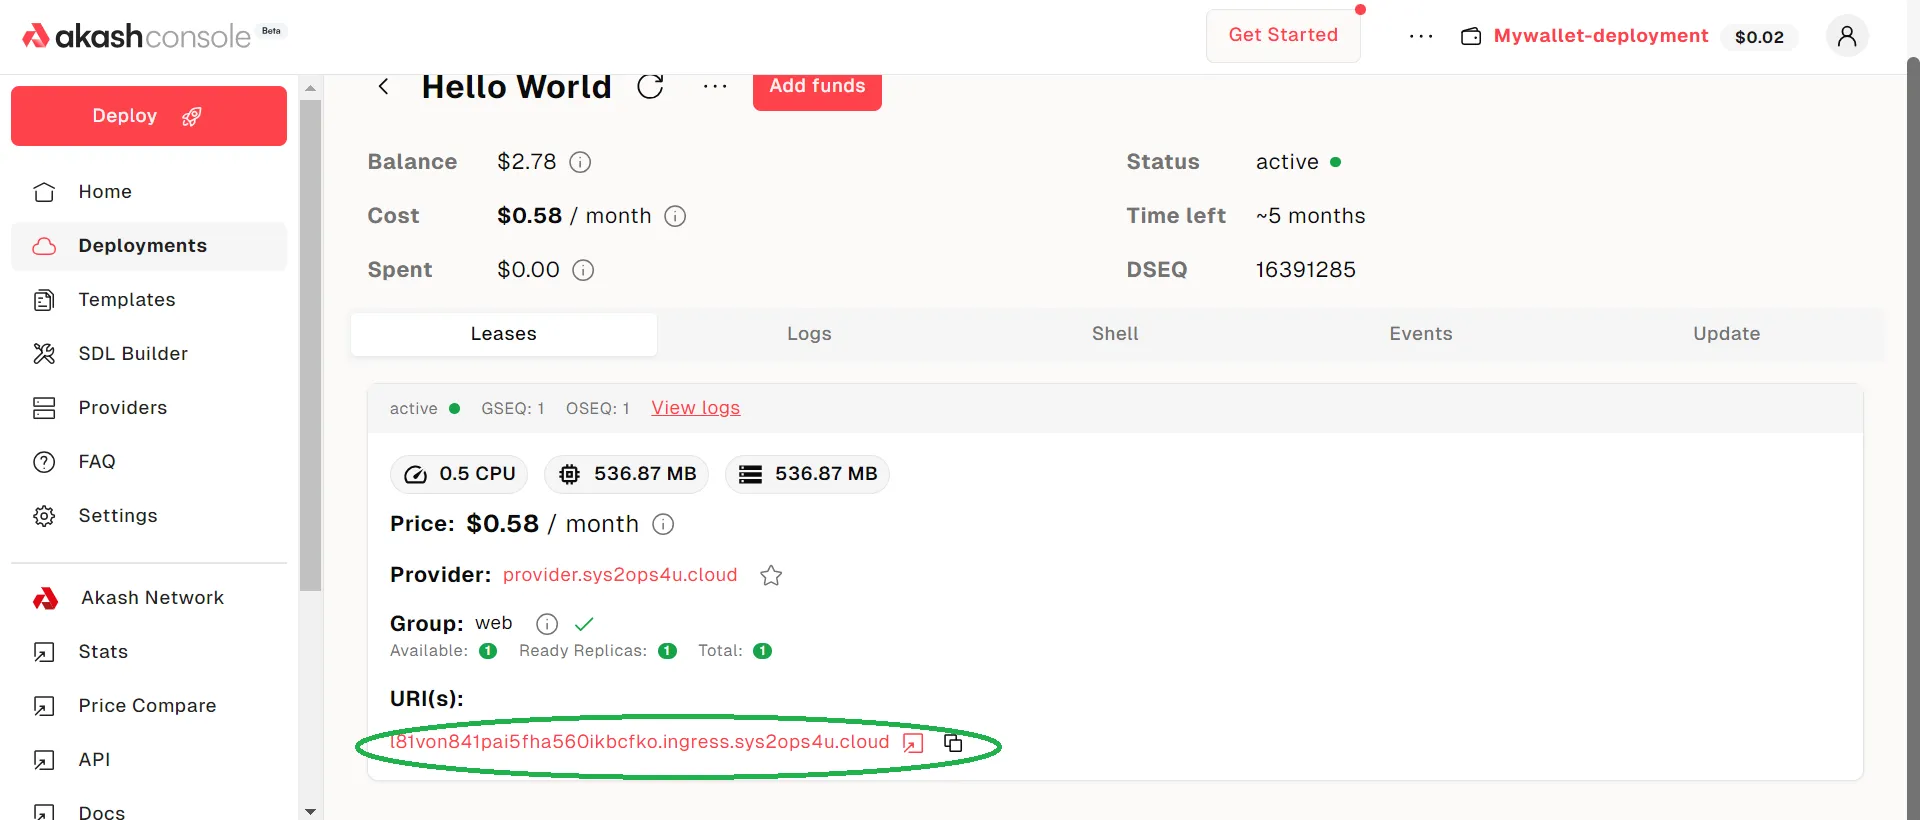
Now visit the URI link:
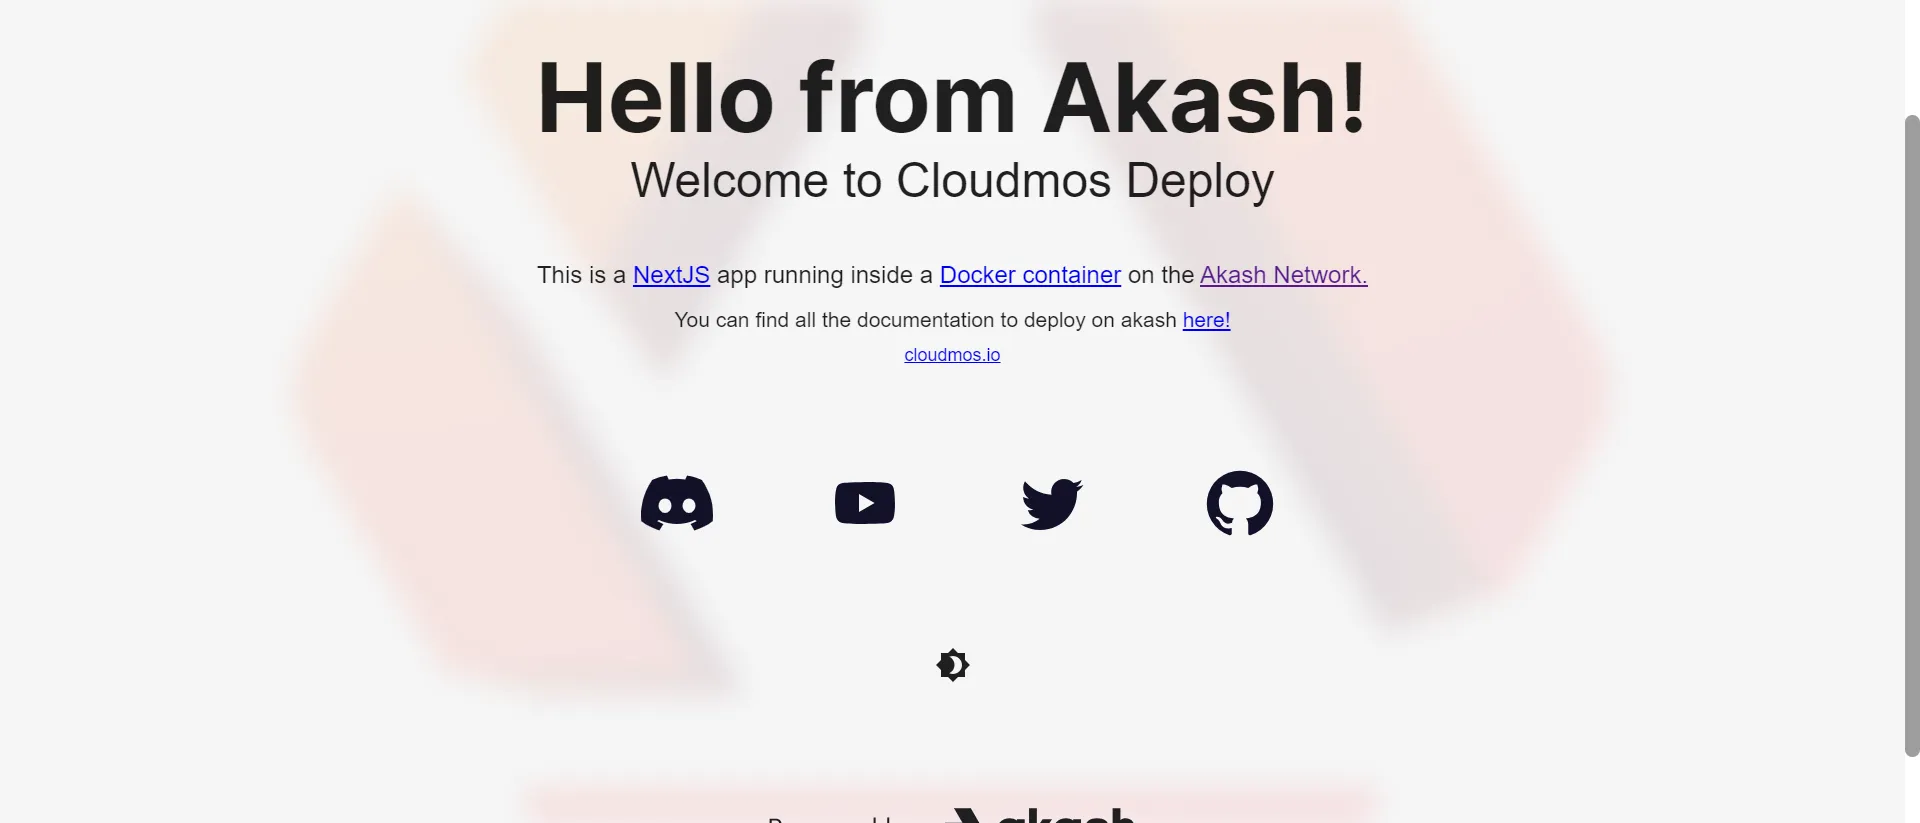
You will be able to see the website you just deployed:
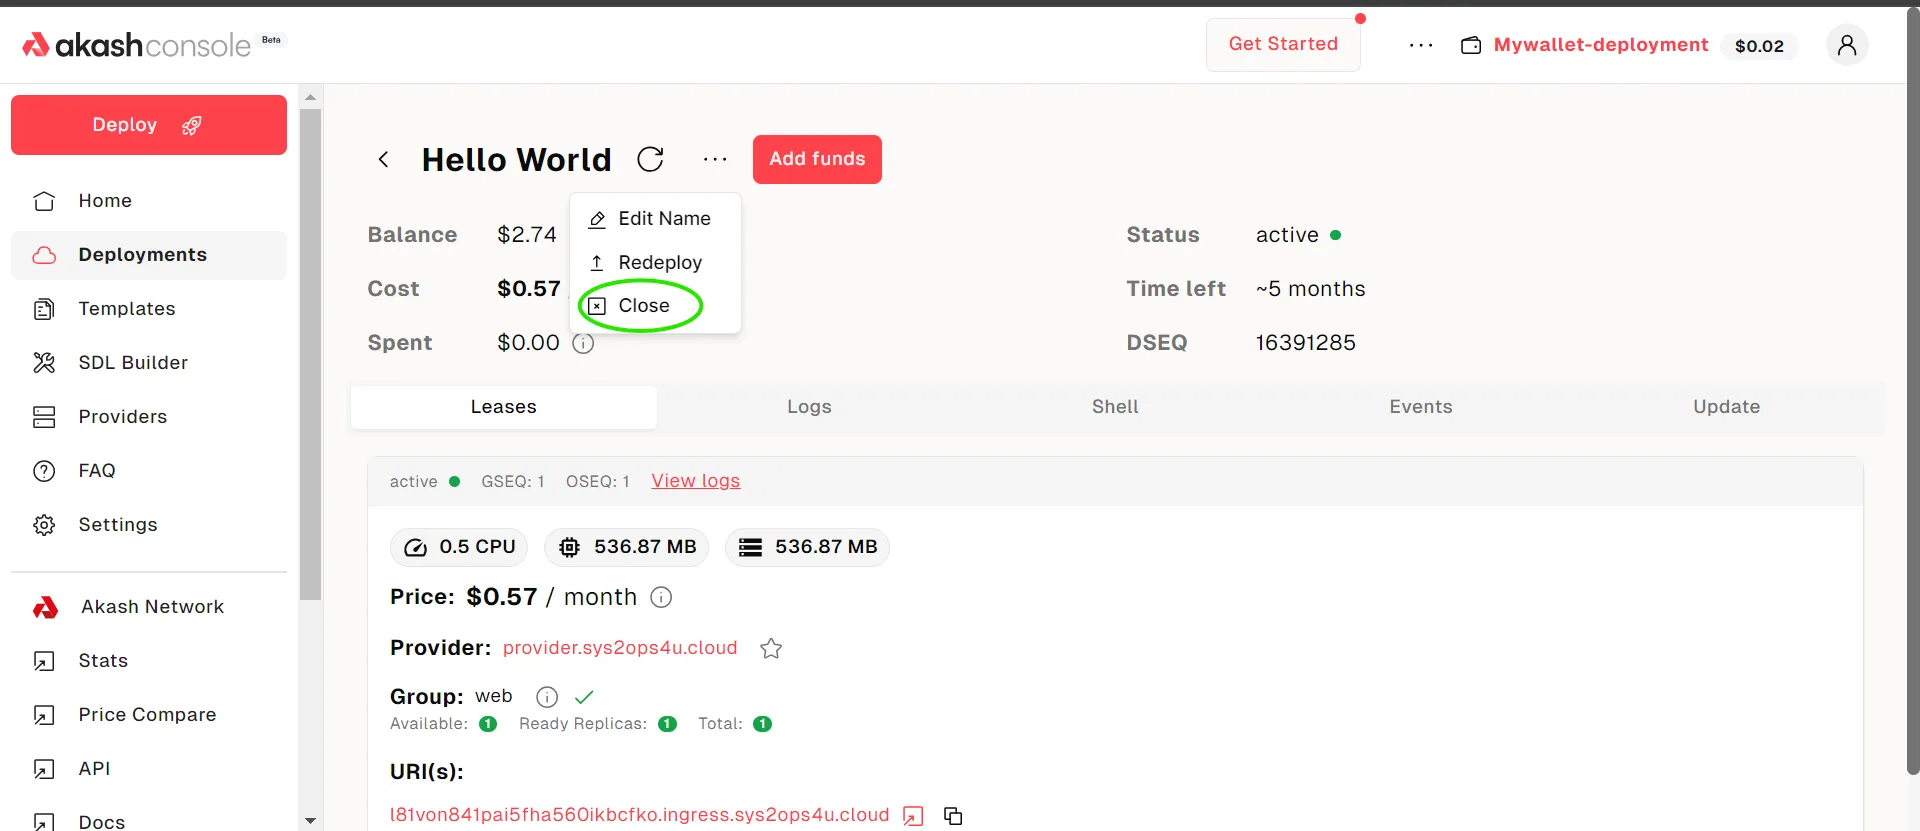
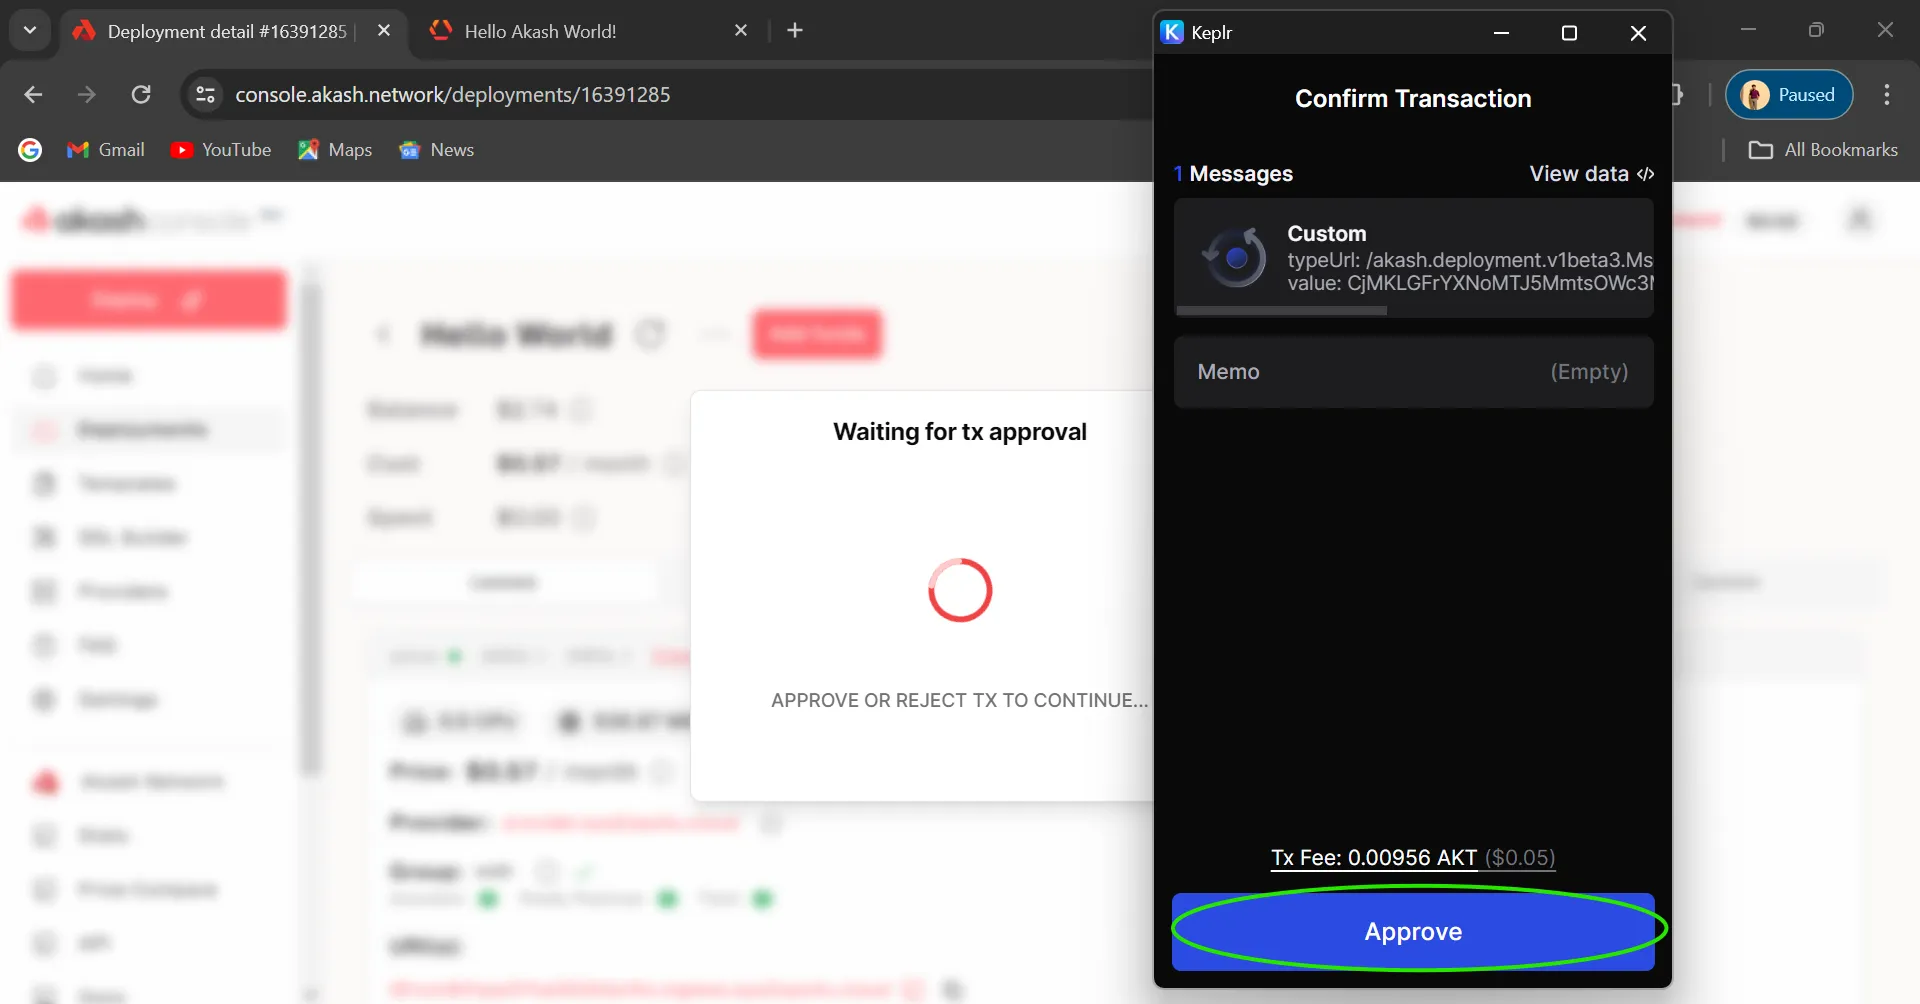
Once the ‘Hello World’ application is deployed, you can easily close it and get refunded. Just click the Close option and once again approve the transaction:
Conclusion
You have successfully deployed a simple hello world application using Console. Follow similar flow for other deployments, only the SDL file along with docker image and resources is to be configured as per the need.
Next Steps
For even easier deployments, try the GitHub Deploy Feature which allows you to deploy applications directly from GitHub, GitLab, and Bitbucket repositories without manually building Docker images.