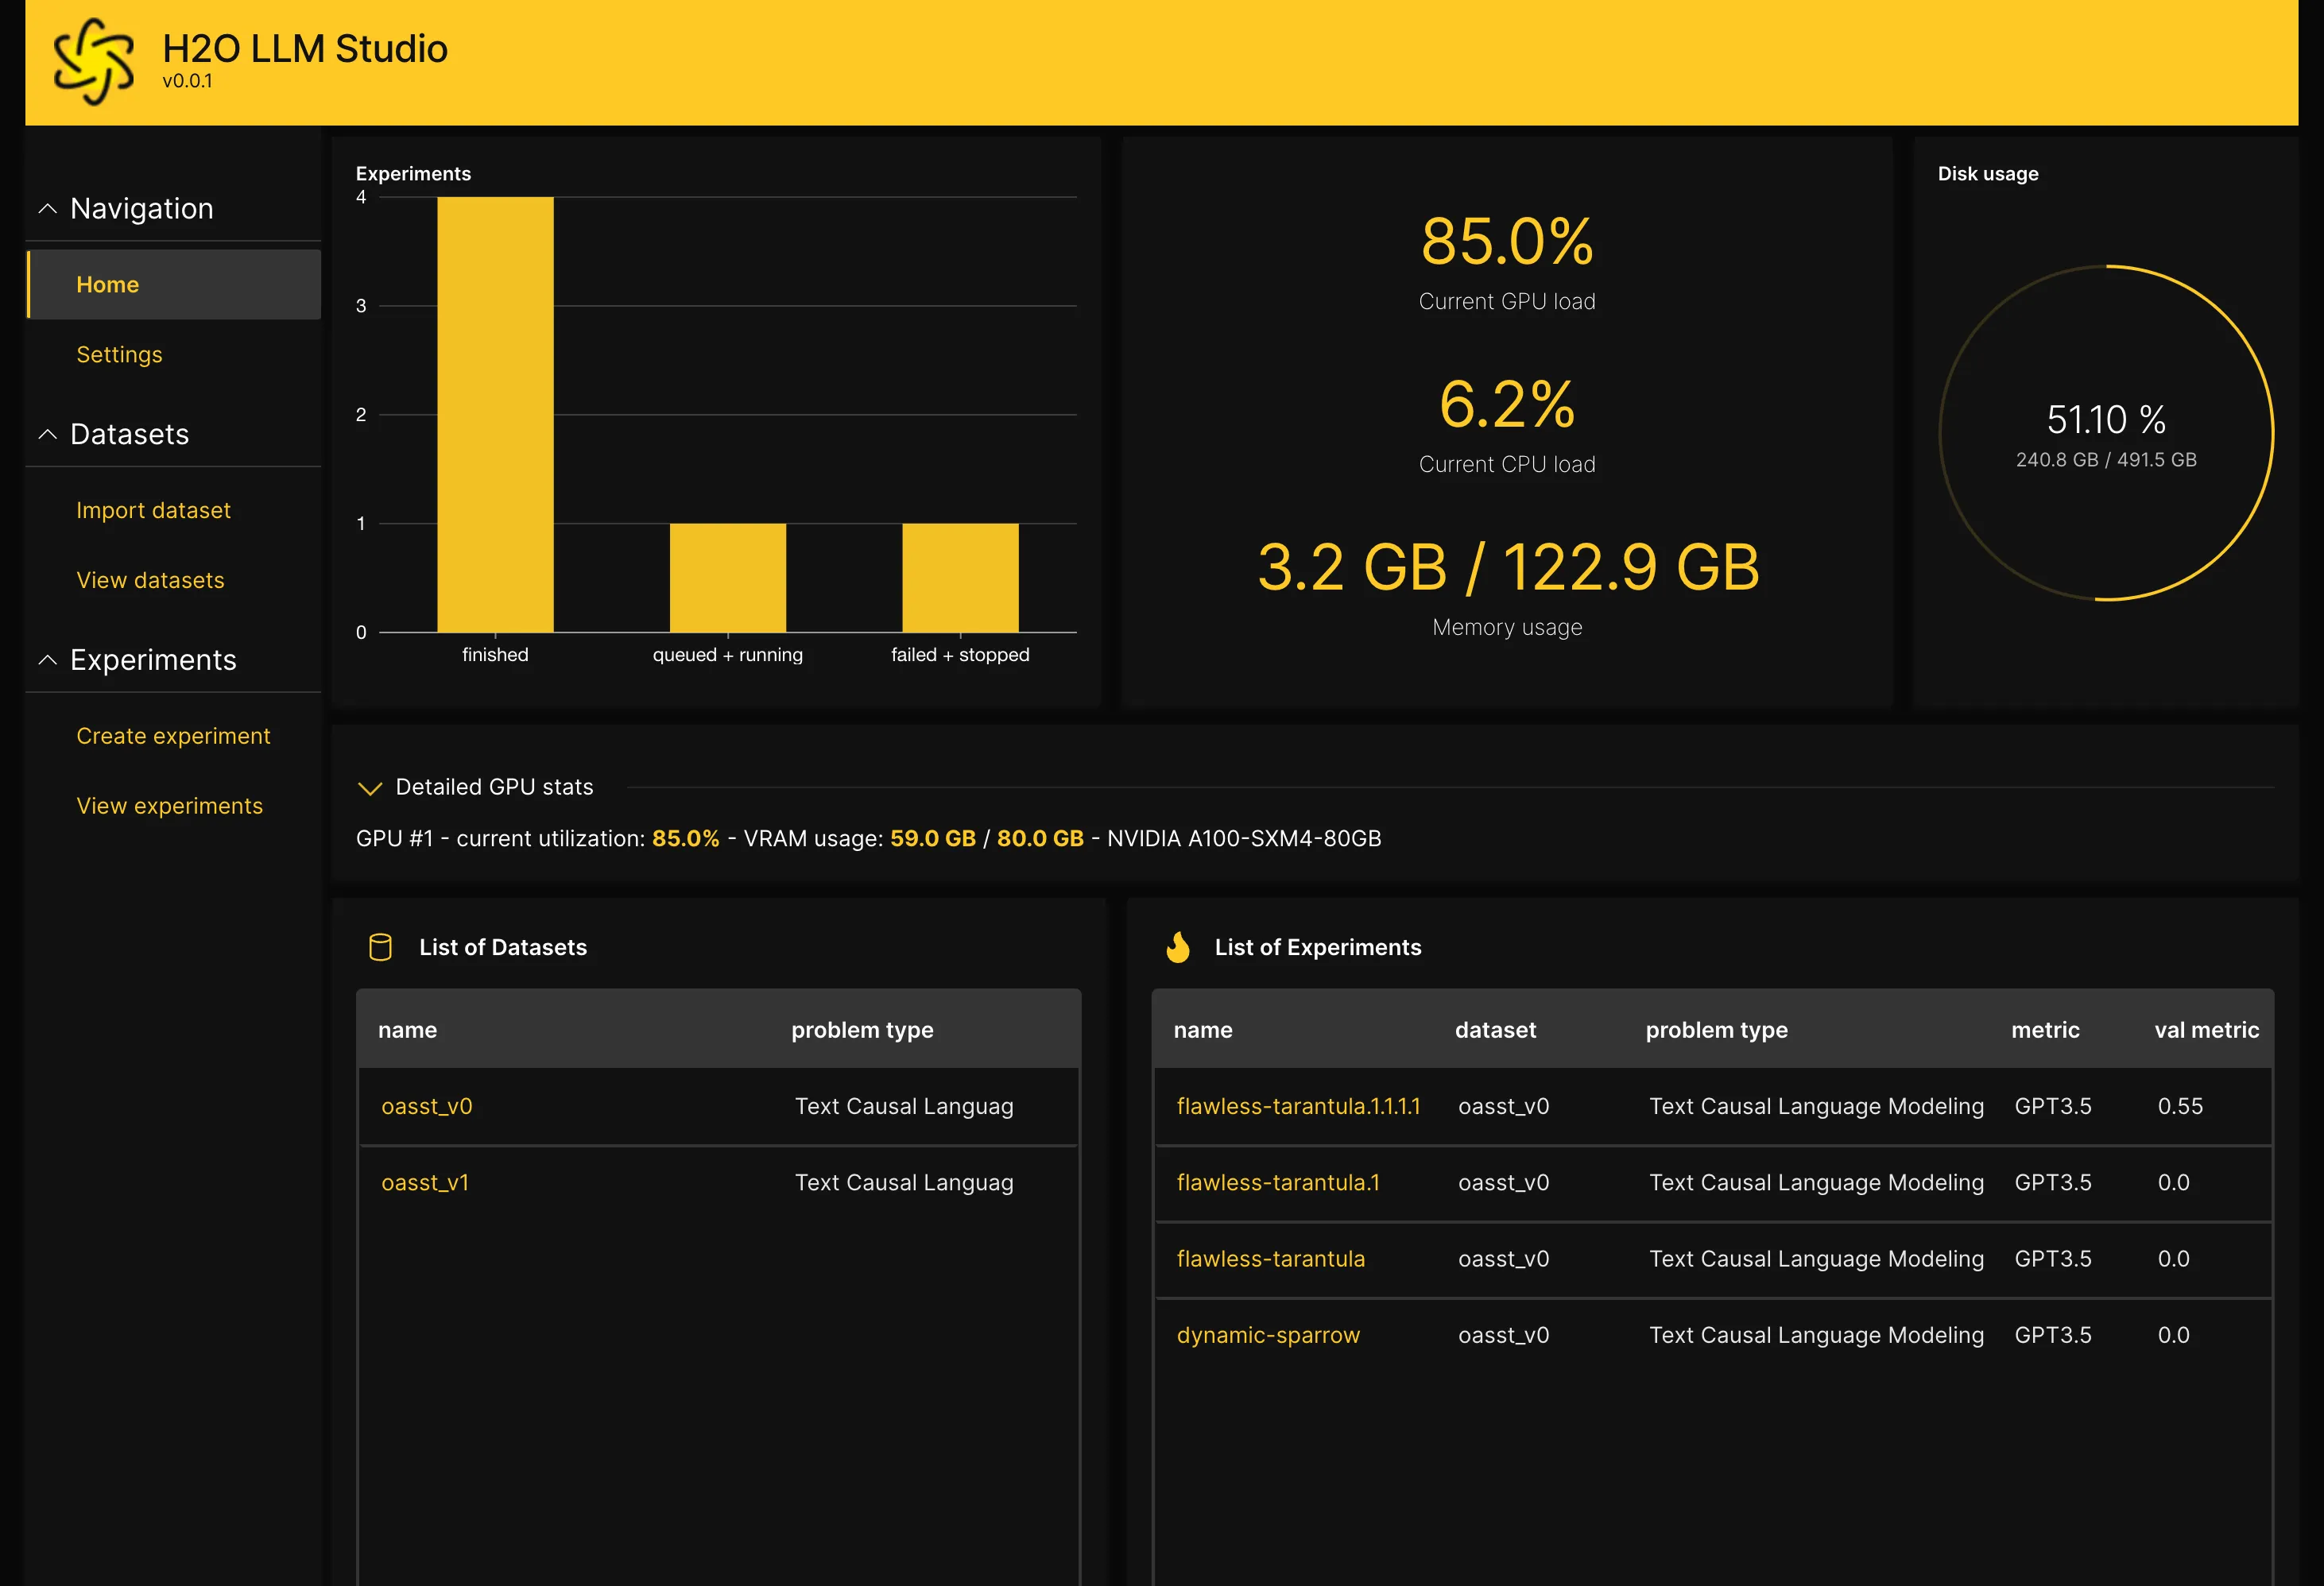
Here’s a comprehensive guide to deploying the H2O LLM on Akash using your SDL template. The guide covers both the Akash CLI and Akash Console methods.
Prerequisites
-
Akash Wallet: Ensure you have an Akash wallet with sufficient $AKT to cover deployment costs and fees.
-
Akash CLI: Install the Akash CLI from the official documentation.
-
Akash Console: Access the Akash Console.
-
SDL Template: Have your SDL template prepared for deploying H2O LLM.
Sample SDL Template for H2O LLM
version: "2.0"
services:  h2o-llm:    image: h2oai/h2ogpt:latest # Replace with the specific H2O LLM image if needed    expose:      - port: 8080        as: 80        to:          - global: true    env:      - MODEL_NAME=gptj # Replace with the desired model name      - MAX_MEMORY=16g      - NUM_THREADS=4    resources:      cpu:        units: 2      memory:        size: 16Gi      storage:        size: 20Gi
profiles:  compute:    h2o:      resources:        cpu:          units: 2        memory:          size: 16Gi        storage:          size: 20Gi  placement:    default:      attributes:        region: us-west      pricing:        h2o:          denom: uakt          amount: 100
deployment:  h2o-deployment:    h2o-llm:      profile: h2o      count: 1
Modify the template as per your requirements for resources and regions.
Using Akash CLI
Step 1: Create Deployment File
Save the SDL file as deploy.yaml in your project directory.
Step 2: Inspect the SDL
Run the following command to validate the SDL file:
provider-services tx deployment create h2o-llm.yml --from <your-wallet-name> --node <akash-node> --chain-id <chain-id> --keyring-backend <keyring>Step 3: Submit Deployment
Deploy the service:
<<<<<<< HEADprovider-services tx deployment create ./h2o-llm.yml --from <wallet-name> --gas auto --gas-prices 0.025uakt --gas-adjustment 1.2=======akash tx deployment create ./h2o-llm.yml --from <wallet-name> --gas auto --gas-prices 0.0025uakt --gas-adjustment 1.2>>>>>>> 3d0281b5feb0124cad7689fa4cce08ac9610dcbbStep 4: Wait for Providers
provider-services query market bid list --owner <your-deployment-address>Step 5: Accept a Bid
Choose a provider and accept the bid:
provider-services tx market lease create \ --bid-id <selected-bid-id> \ --from <wallet-name> \ --gas auto \ --gas-prices 0.0025uaktStep 6: Access Your Deployment
Retrieve the lease status to get the external IP:
provider-services provider lease-status \ --dseq <deployment-sequence> \ --from <wallet-name> \ --provider <provider-address>Access the H2O LLM via the provided IP address.
Using Akash Console
Step 1: Log In
-
Open the Akash Console.
-
Connect your wallet and ensure you have funds.
Step 2: Upload the SDL File
-
Click on New Deployment.
-
Upload your
deploy.yamlfile. -
Review the parsed configuration.
Step 3: Submit Deployment
-
Confirm the details.
-
Submit the deployment and wait for provider bids.
Step 4: Review Bids
-
Once providers offer bids, review the pricing and terms.
-
Select a provider and accept the bid.
Step 5: Access Deployment
-
The deployment will begin provisioning.
-
Once ready, obtain the external IP from the deployment details.
-
Access the H2O LLM via the public IP.
Notes
- Environment Variables: Adjust MODEL_NAME, MAX_MEMORY, and other variables in the SDL to suit your specific needs.
- Scaling: To scale horizontally, modify the count field in the deployment section.
- Troubleshooting: Use akash logs for debugging issues with the deployment.