URL: console.akash.network/onboarding
Step 1 — Sign Up
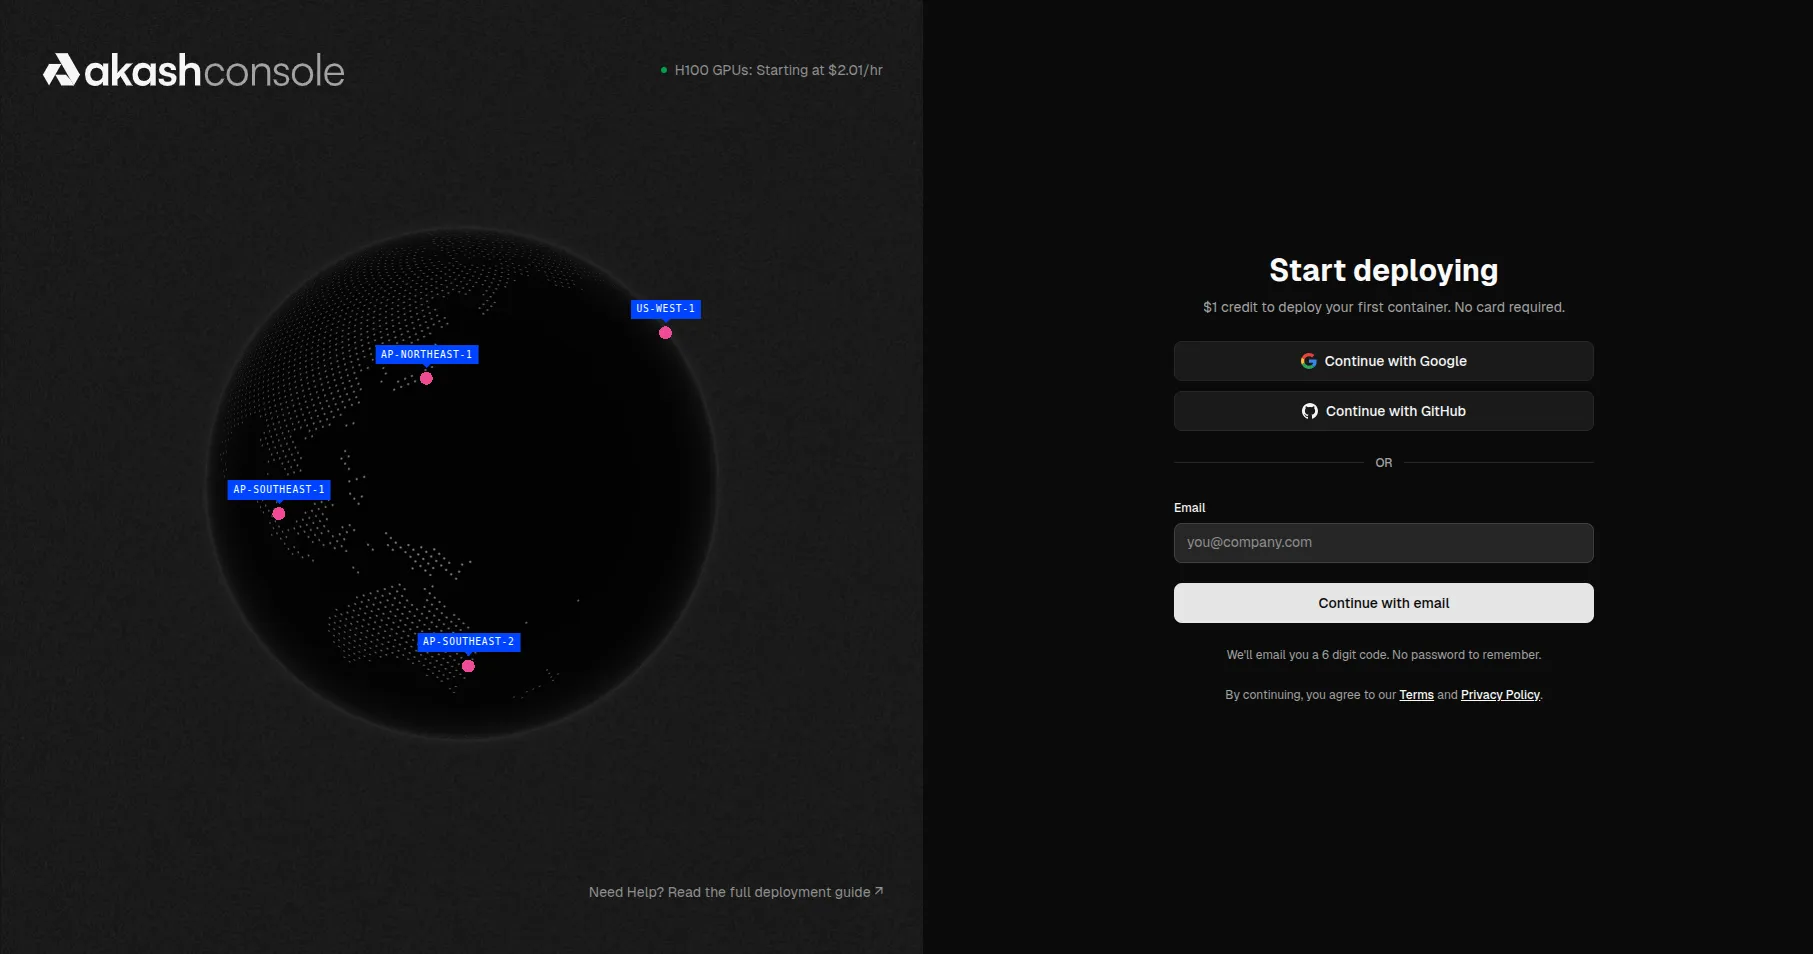
On the landing page you’ll see a globe showing available compute regions (AP-Northeast, AP-Southeast, US-West, etc.) and a sign-up panel on the right.
Authentication options:
- Continue with Google
- Continue with GitHub
- Email — passwordless, a 6-digit OTP is sent to your inbox
No credit card required to start. You get $1 in free trial credits on sign-up.
Step 2 — Choose Your First Deployment
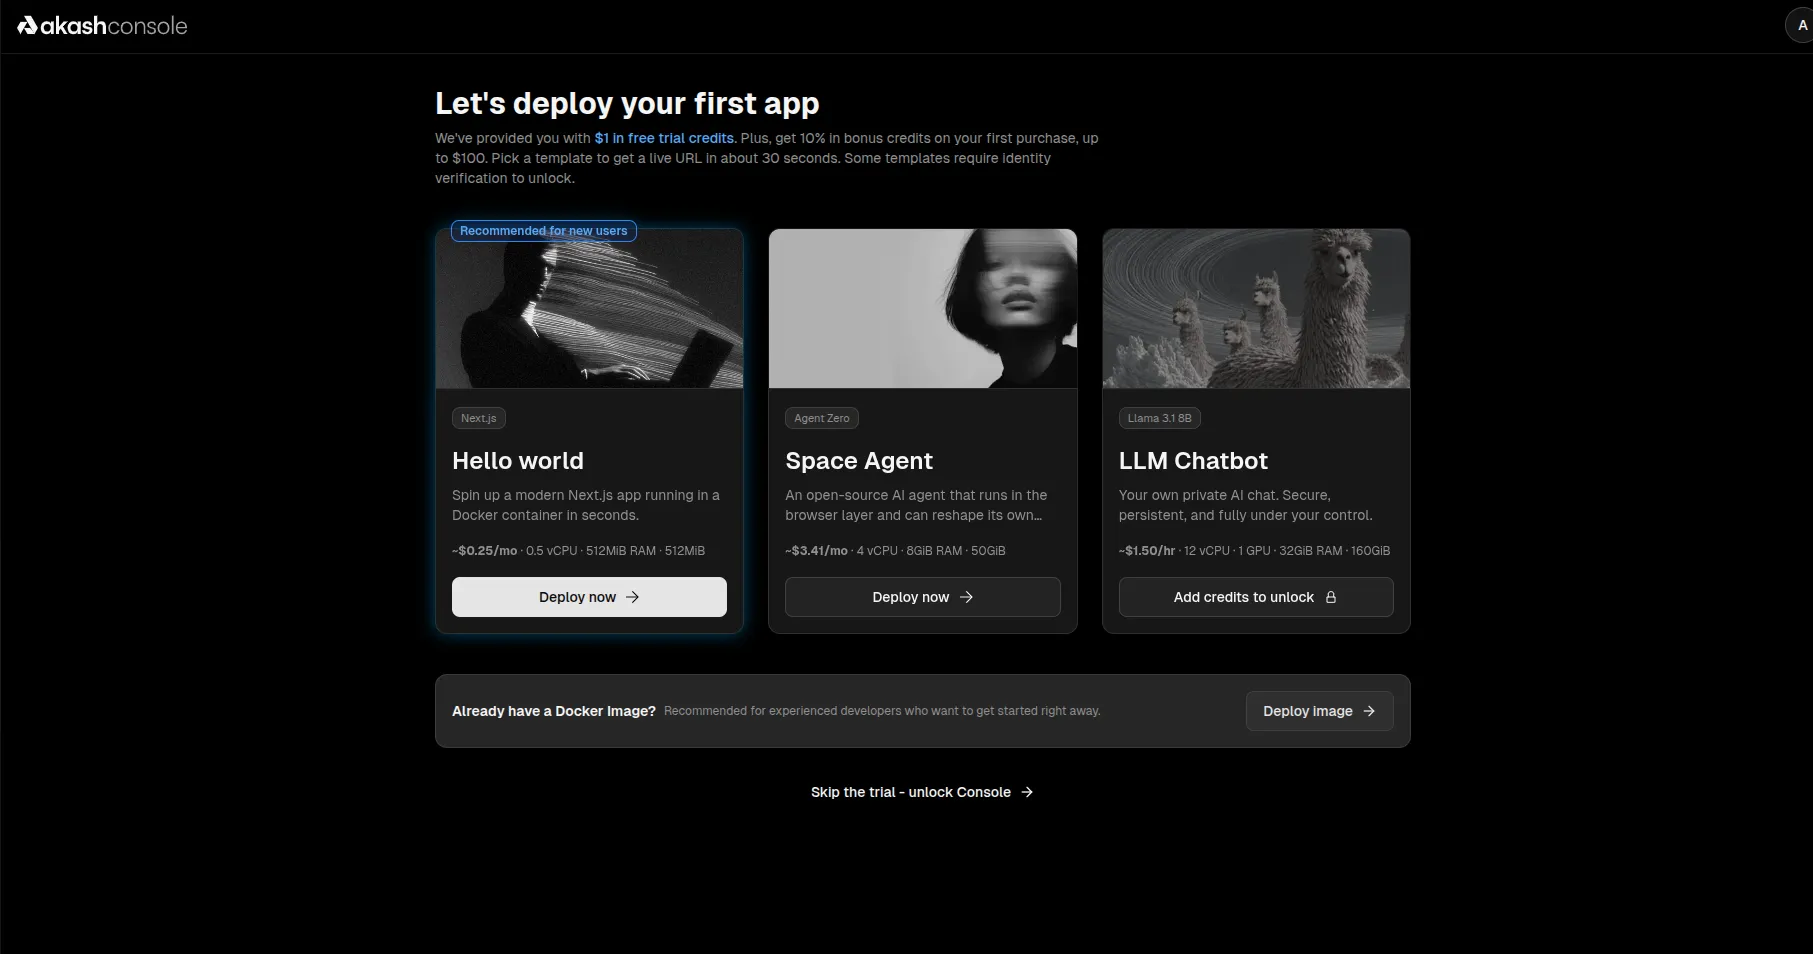
After confirming your email you land on the onboarding screen with three starter templates:
| Template | Stack | Est. Cost | Resources |
|---|---|---|---|
| Hello World ⭐ | Next.js in Docker | ~$0.25/mo | 0.5 vCPU · 512MiB RAM |
| Space Agent | Agent Zero (AI agent) | ~$3.41/mo | 4 vCPU · 8GiB RAM |
| LLM Chatbot | Llama 3.1 8B | ~$1.50/hr | 12 vCPU · 1 GPU · 32GiB RAM |
⭐ Hello World is recommended for first-time users — it deploys in ~30 seconds.
Already have a Docker image? Click “Deploy image →” at the bottom to skip templates and go straight to the deployment configurator.
Skipping the trial: Clicking “Skip the trial – unlock Console →” opens a side panel to add a credit card and unlock the full console.
Step 3 — Configure Your Deployment
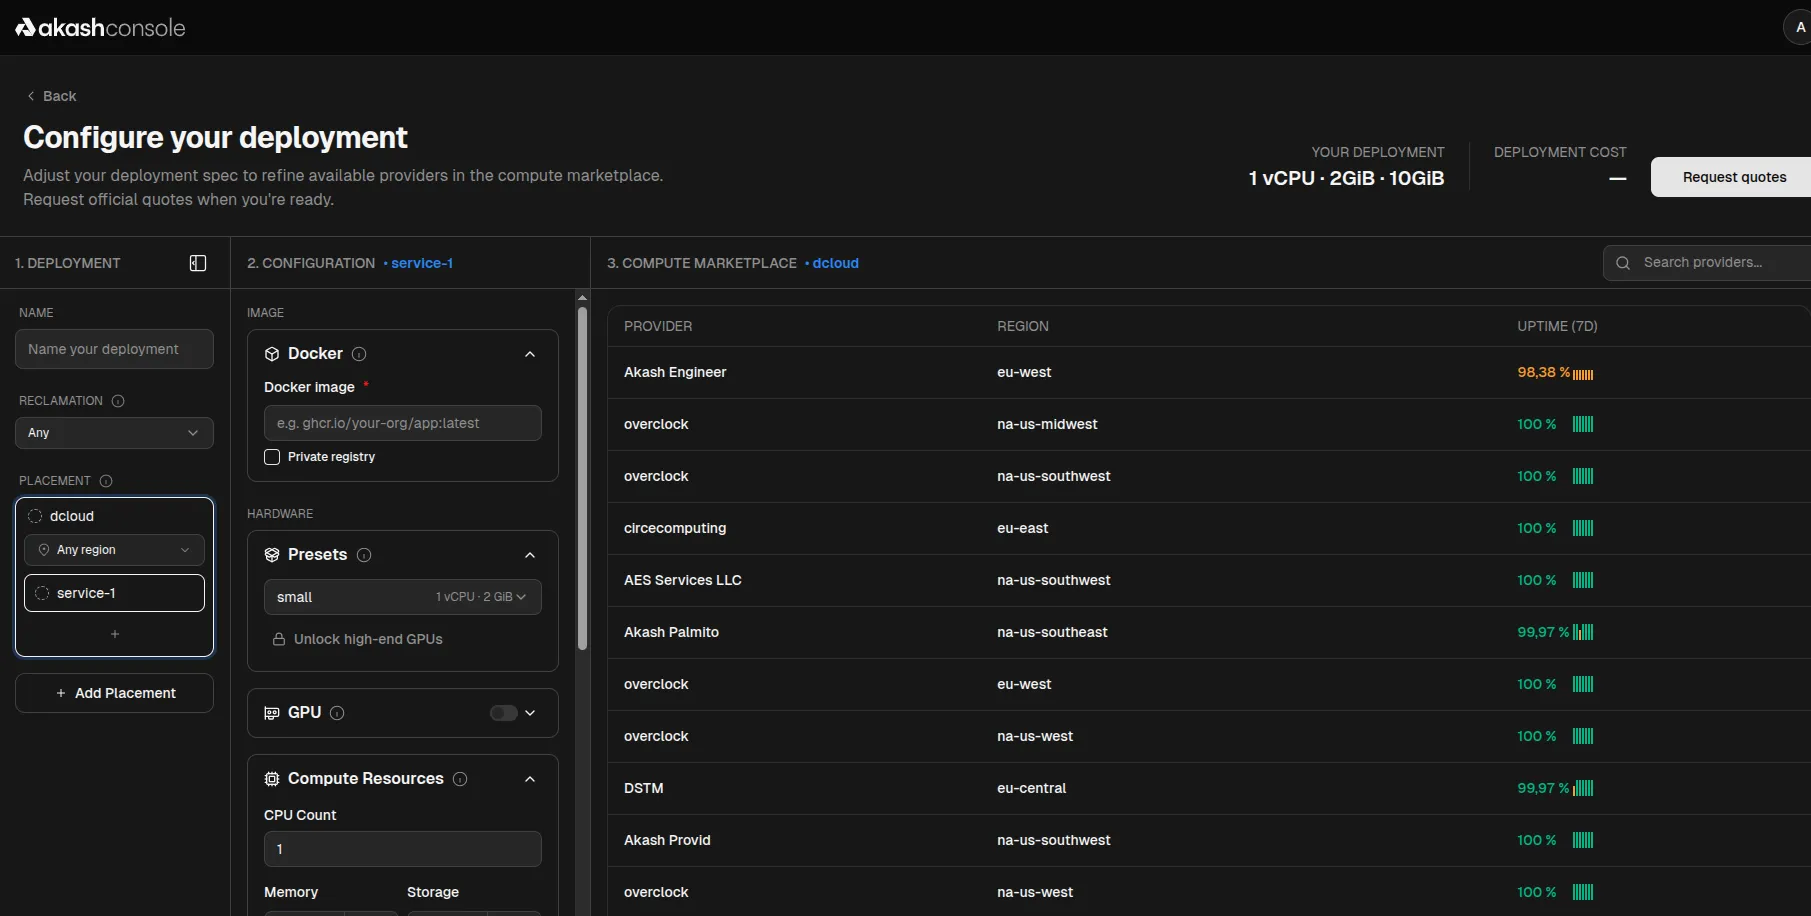
After selecting a template or clicking “Deploy image”, you reach the Configure your deployment screen — a 3-column layout:
Column 1 — Deployment Settings
- Name — label for your deployment
- Reclamation — how idle resources are reclaimed (default: Any)
- Placement — select a placement group (default:
dcloud) and optionally pin to a region
Column 2 — Service Configuration
- Docker Image — enter your image URI (e.g.
ghcr.io/your-org/app:latest). Check Private registry if auth is required. - Presets — pick a hardware tier: Small (1 vCPU · 2GiB) or unlock high-end GPU tiers
- GPU — toggle on to add a GPU (requires credits beyond the free trial)
- Compute Resources — manually set CPU count, Memory, and Storage
Column 3 — Compute Marketplace
This panel lists all available providers in real time with their region and 7-day uptime. No pricing is shown at this stage — this is the provider discovery view. Providers span NA, EU, and AP regions.
Step 4 — Request Quotes
Once your Docker image and resource spec are set, click “Request quotes” (top-right).
The Compute Marketplace updates to show live bids from providers willing to host your exact spec. Compare region, uptime, and price before selecting.
Bids vary significantly — the same spec can range from ~\(1.50/mo to\)27/mo depending on provider and region. EU-southeast and Australia/NZ providers tend to offer the lowest prices.
Click “Select” next to your preferred provider to confirm the lease.
Step 5 — Deployment Starts
After selecting a provider:
- The lease is created on-chain via Akash’s decentralized marketplace
- The provider pulls your Docker image and starts the container
- A live URL is provisioned — usually within ~30 seconds for standard templates
Note: If you see the banner “Blockchain unavailable — console in read-only mode until service is restored”, the Akash network is temporarily degraded. New deployments cannot be started until restored. Existing deployments are unaffected.
Tips
- Overclock providers (multiple regions) consistently show 100% uptime and competitive pricing
- Adding more placements in Column 1 broadens the provider pool and gets you more bids
- GPU deployments require adding credits first — trial credits are CPU-only
- For self-custody/wallet-based deployments, see Console Air